Getting clean speech on air: a practical guide to room treatment
A step-by-step walk through taming a studio or hall before the first microphone goes up, so presenters and guests sound clear without heavy fixes in the mix.
IC
Isla Campbell
6 min read
Listen to the room before you touch any kit
Start with your ears. Stand where the presenter will sit, clap once, and listen to how long the sound hangs. A bare room with hard walls will ring for a noticeable moment, and that ring ends up in every microphone you place. Walk the room while talking at normal volume and note where your voice goes thin, boomy or harsh.
Then listen for what the room brings in from outside. Corridor footsteps, ventilation, a fridge humming behind a partition and traffic on a harbour road all reach a sensitive microphone. Switch the air handling on and off and hear the difference. Making this list first tells you whether you need absorption, isolation or simply a quieter schedule.
I write these notes down on one sheet, with a rough sketch of the room and the camera positions. It sounds basic, yet it saves a surprising amount of money later, because treatment bought without a diagnosis is usually treatment in the wrong place.
Clap test at the presenter's seat
Switch ventilation on and off and compare
Note outside noise sources by time of day
Treat the first reflections, not just the walls
The sound that does most damage to speech is the early reflection, the voice bouncing off the nearest hard surface and reaching the microphone a fraction late. Sit in the presenter's chair and have someone slide a mirror along the side walls and desk; wherever you can see the microphone in it, that is a reflection point worth covering.
Dense absorbent panels at head height on both sides, and something soft above a desk-bound guest, will often do more than covering every wall. Keep panels thick enough to matter, since thin foam only calms the top of the voice and leaves the muddy low-mids untouched. A heavy curtain hung a few centimetres off a window helps too.
Keep the camera in mind. Panels and drapes sit in the shot or just outside it, so agree positions with whoever is lighting and framing the set before anything is fixed to a wall.
Mirror trick to find reflection points
Panels at head height either side of the speaker
Heavy curtain off glass, not flat against it
Place the microphone where the voice is, not the room
Distance is the biggest lever you have. A lavalier clipped to the breastbone, or a directional microphone a hand span or two from the mouth, picks up far more voice relative to room. Every doubling of distance lets in noticeably more reverberation, so moving closer beats any amount of later processing.
For lavaliers, keep clothing rustle in mind: tape or clip the cable so it cannot swing, and avoid hiding the capsule under thick fabric. For a boom or desk microphone, aim the quiet side of the pickup pattern at the noisiest thing in the room, whether that is a monitor fan or the audience.
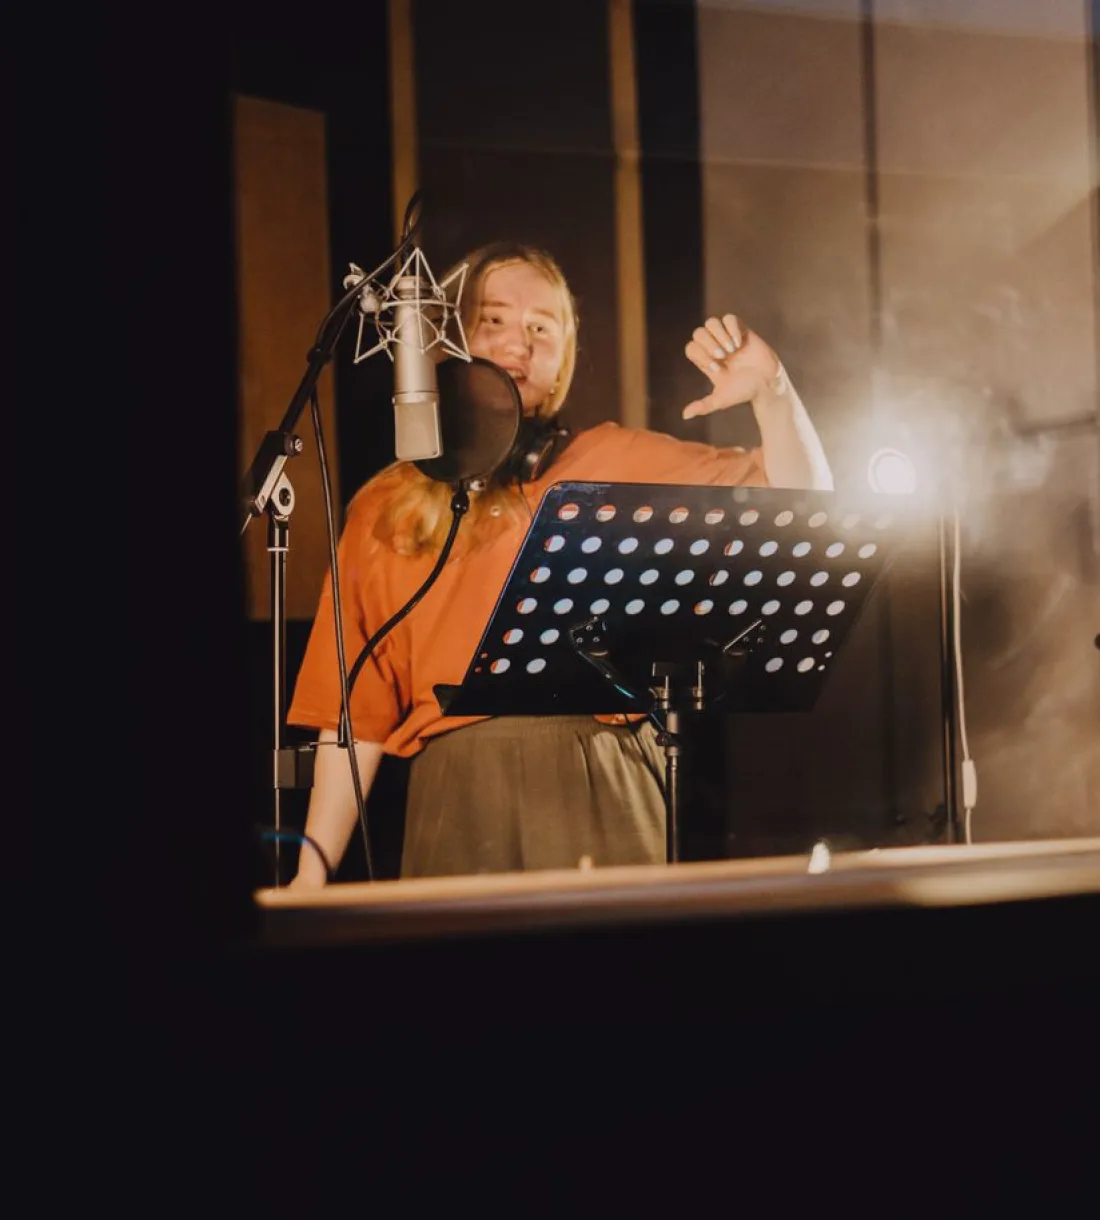
Always do a spoken test at the real seating position, with the presenter reading a few lines at full on-air energy, since people speak differently once the red light is on.
Close and slightly off-axis to reduce plosives
Secure cables so they cannot knock
Test at on-air volume, not at a polite murmur
Set levels with headroom you can live with
Gain staging is where good rooms are wasted. Set the microphone preamp so the loudest laugh or raised voice still leaves room before the meter hits the top, rather than aiming for a loud average and hoping. Digital clipping cannot be repaired, while a slightly quiet signal can be lifted cleanly.
Ask each speaker to give you their normal speaking voice and their excited one, then set the gain for the louder of the two. Pad the mix gently: light compression to even out dynamics, a low-cut filter to remove desk thumps, and only small equalisation changes. If you find yourself pushing large boosts, go back and fix the room or the position.
Keep a record of settings for each seat. When the same guest chair is used across several programmes, a written starting point turns setup from a guess into a routine.
Set gain on the loudest likely moment
Low-cut for desk and handling noise
Small EQ moves only, then return to the room
Adapt the same ideas for music and live stages
Live music asks more of a space, because instruments are louder and the room itself is part of the sound. Bleed between microphones is the main enemy: a snare leaking into a vocal microphone makes mixing difficult. Close, well-aimed microphones, a little distance between sources and sensible stage layout do more than treating walls.
In a hall you rarely get to alter the architecture, so work with what is there. Hang absorbent drapes behind the performers when allowed, avoid placing microphones facing glass or bare stone, and take a stage-side listen during soundcheck as well as one from the audience area.
Allow time for the room to fill. A hall that sounds lively at soundcheck becomes much drier with a full crowd, and the mix you made in an empty space will need adjusting once people arrive.
Control bleed with aim and spacing
Soundcheck from stage and from the floor
Expect an audience to dry the room
A short routine for the day of the broadcast
Arrive early and repeat the listening walk, since furniture, doors and weather change a room from the week before. Check for new noise sources, confirm cable runs are taped down and make sure every microphone is switched on and monitored on headphones, not just on a meter.
Run a full rehearsal with real speakers where possible. Listen for pops, breaths, clothing noise and whatever the room does to the voice. Note any fixes, make them, and test again rather than assuming they worked.
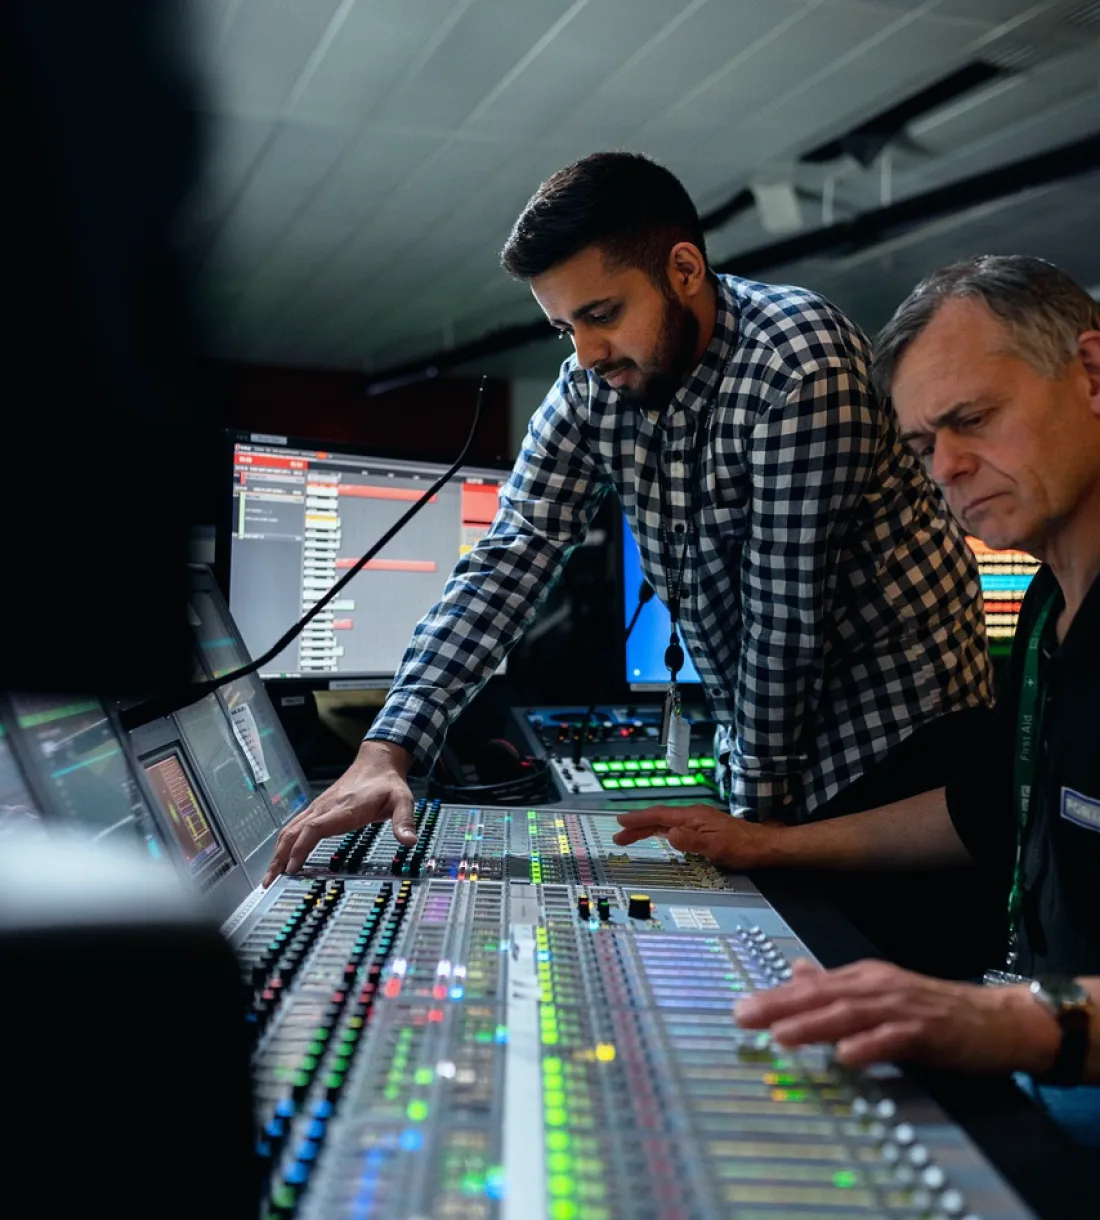
During the programme, keep one person on headphones with nothing else to do. A calm listener catches a dropped battery or a slipped microphone before the audience does, and that single role removes most of the avoidable on-air problems.
Repeat the room walk on the day
Monitor on headphones, not meters alone
Assign one dedicated listener during the show
Clean speech on air comes from a short chain of sensible choices: listen first, treat the reflections that matter, put the microphone close, leave headroom and check everything again on the day. None of it needs exotic equipment, only patience and a willingness to fix the cause rather than disguise it in the mix. If a room still defeats you after these steps, that is the moment to ask for a second pair of ears.
Before anyone books a rig or hangs a single fixture, these are the questions worth settling: the room, the cameras, the presenters and the plan for the day itself.
Most trouble at a stage broadcast starts well before the first song. Ewan Gordon goes through the slips that cost crews time and sound quality, and how to avoid each one.
Callum Reid explains how flairuni plans vision mixers, routing, monitoring and intercom as one control room, and what clients can expect from an integration project this autumn.
flairuni plans and runs live television production from Inverness: studio integration, cameras, sound and lighting for news, interviews, concerts and festival stages.